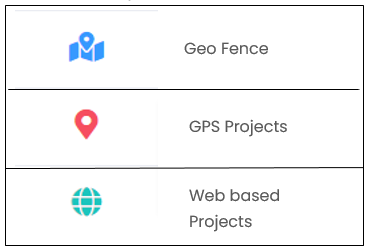
A very crucial and core part of the TimeWatchR app is the PROJECTS module. Projects are useful for grouping and categorizing time entries. An important aspect of creating Projects in TimeWatchR is that you can specify users for different roles of a Project and assign hourly rate for each resource. This helps in creating accurate Invoices. Creation of Projects is available to Admin and not to users.
In TimeWatchR, Admins can create Projects for:
i. Web-based applications
ii. GPS applications &
iii. Geo Fence applications
Note:
GPS Tracking Projects: Some Projects or some types of work involve employees to travel such as marketing, logistics, etc. To time track the efforts of such employees, GPS Tracking will help. To track time through GPS, Admins will have to create ‘GPS’ type of Project by selecting ‘GPS’ under ‘TYPE OF PROJECT’ option.
Geo-Fencing Projects: For some Projects, Admin will have to set Geo-fences so that employees are only allowed to clock in and clock out from the set locations. Each location can have its own radius and allowance. To set Geo-fences and ensure that employees track their time in the set geo-fence, Admin will have to create a Geo-Fence type of project by selecting ‘GEO FENCE’ under the ‘TYPE OF PROJECT’ option.

On clicking the PROJECTS link on the left panel of the dashboard menu, Projects List page appears. The list has details such as Project Name, Client name, Project Type, Status, Actions and Search bar to search a Project. The type of Project column helps Admins to identify whether a project is web-based, GPS-based or Geo-Fence based by their icons.

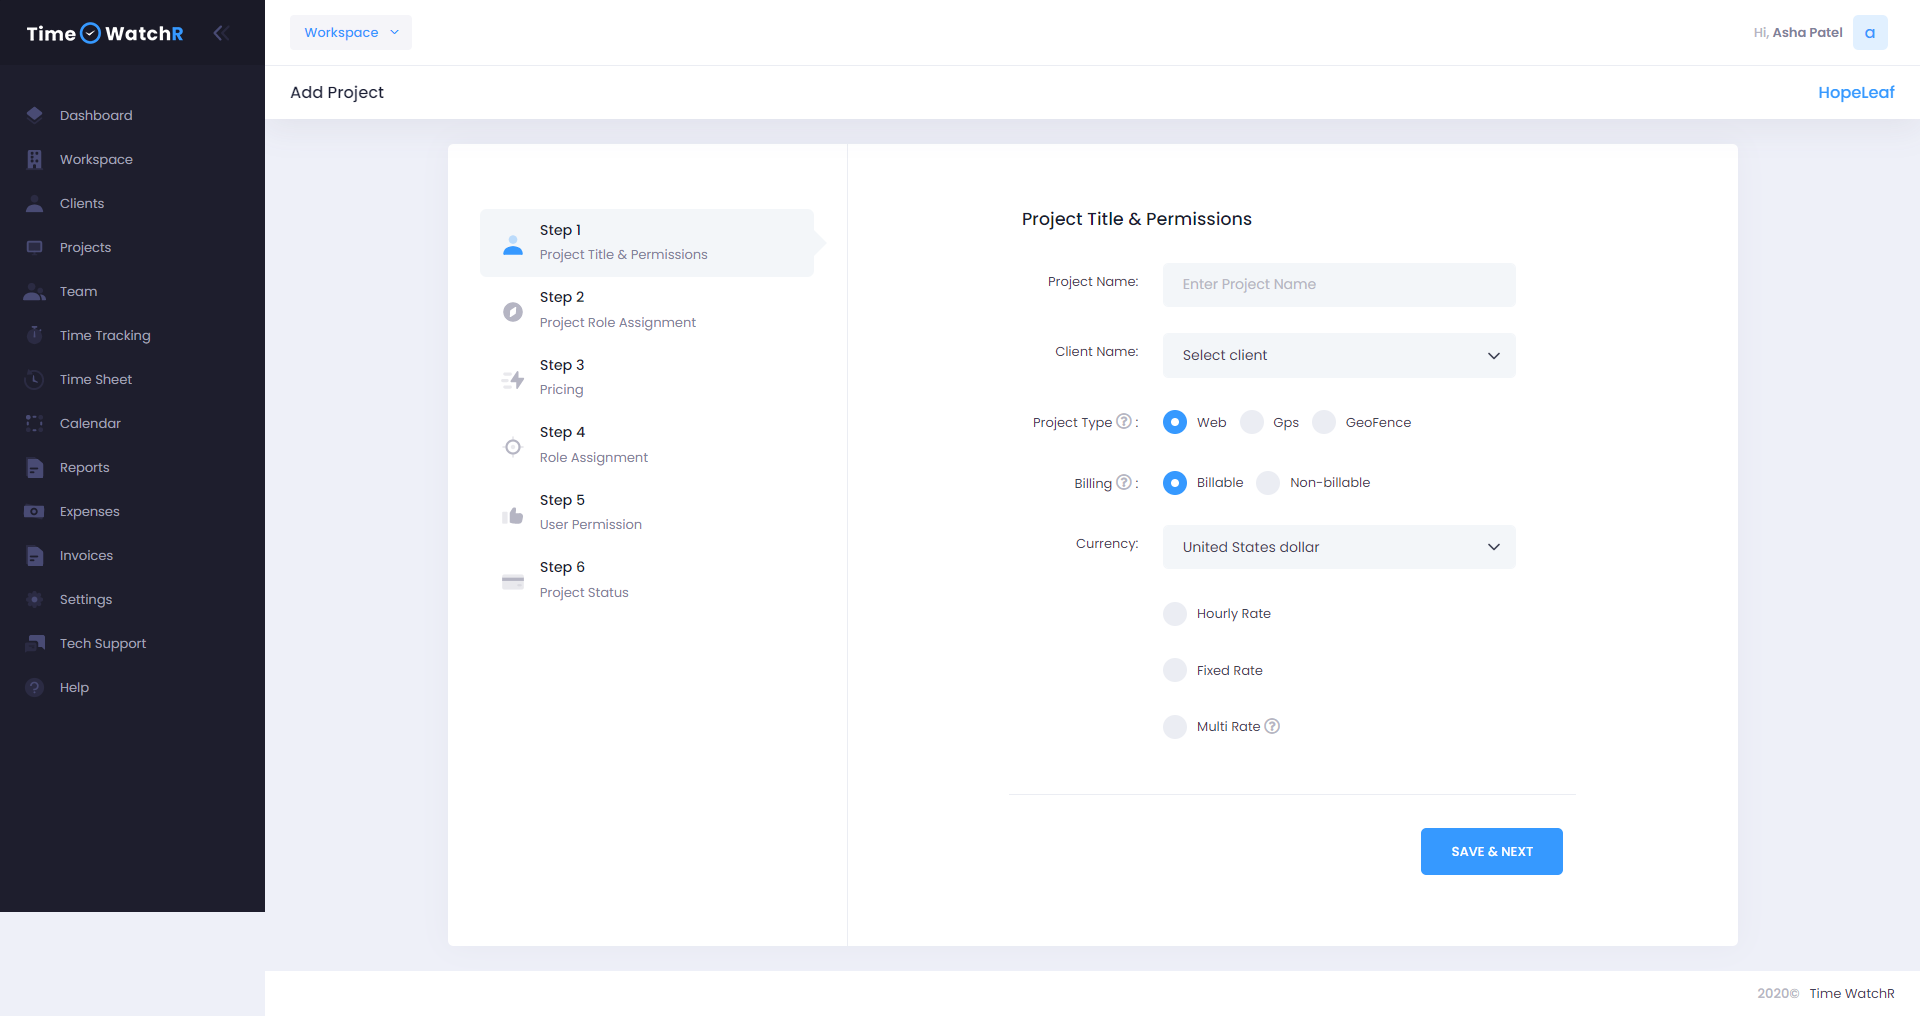
To create a new Project, click the “+PROJECT” button on the top right corner of the page. New Project creation page appears as below:

Creation of a new Project involves six (6) steps.
Step 1 – Project Title & Permissions

