In real-life scenarios, every project is associated with a client. Hence, we create Clients in TimeWatchR.
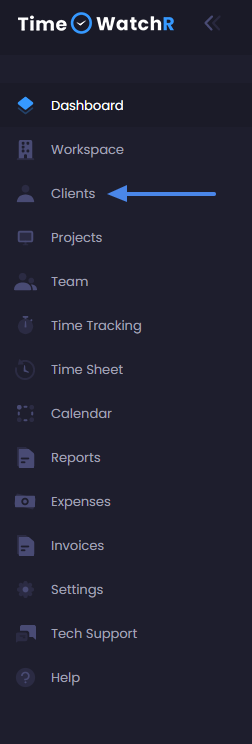
Click “CLIENTS” on the dashboard menu as shown below:
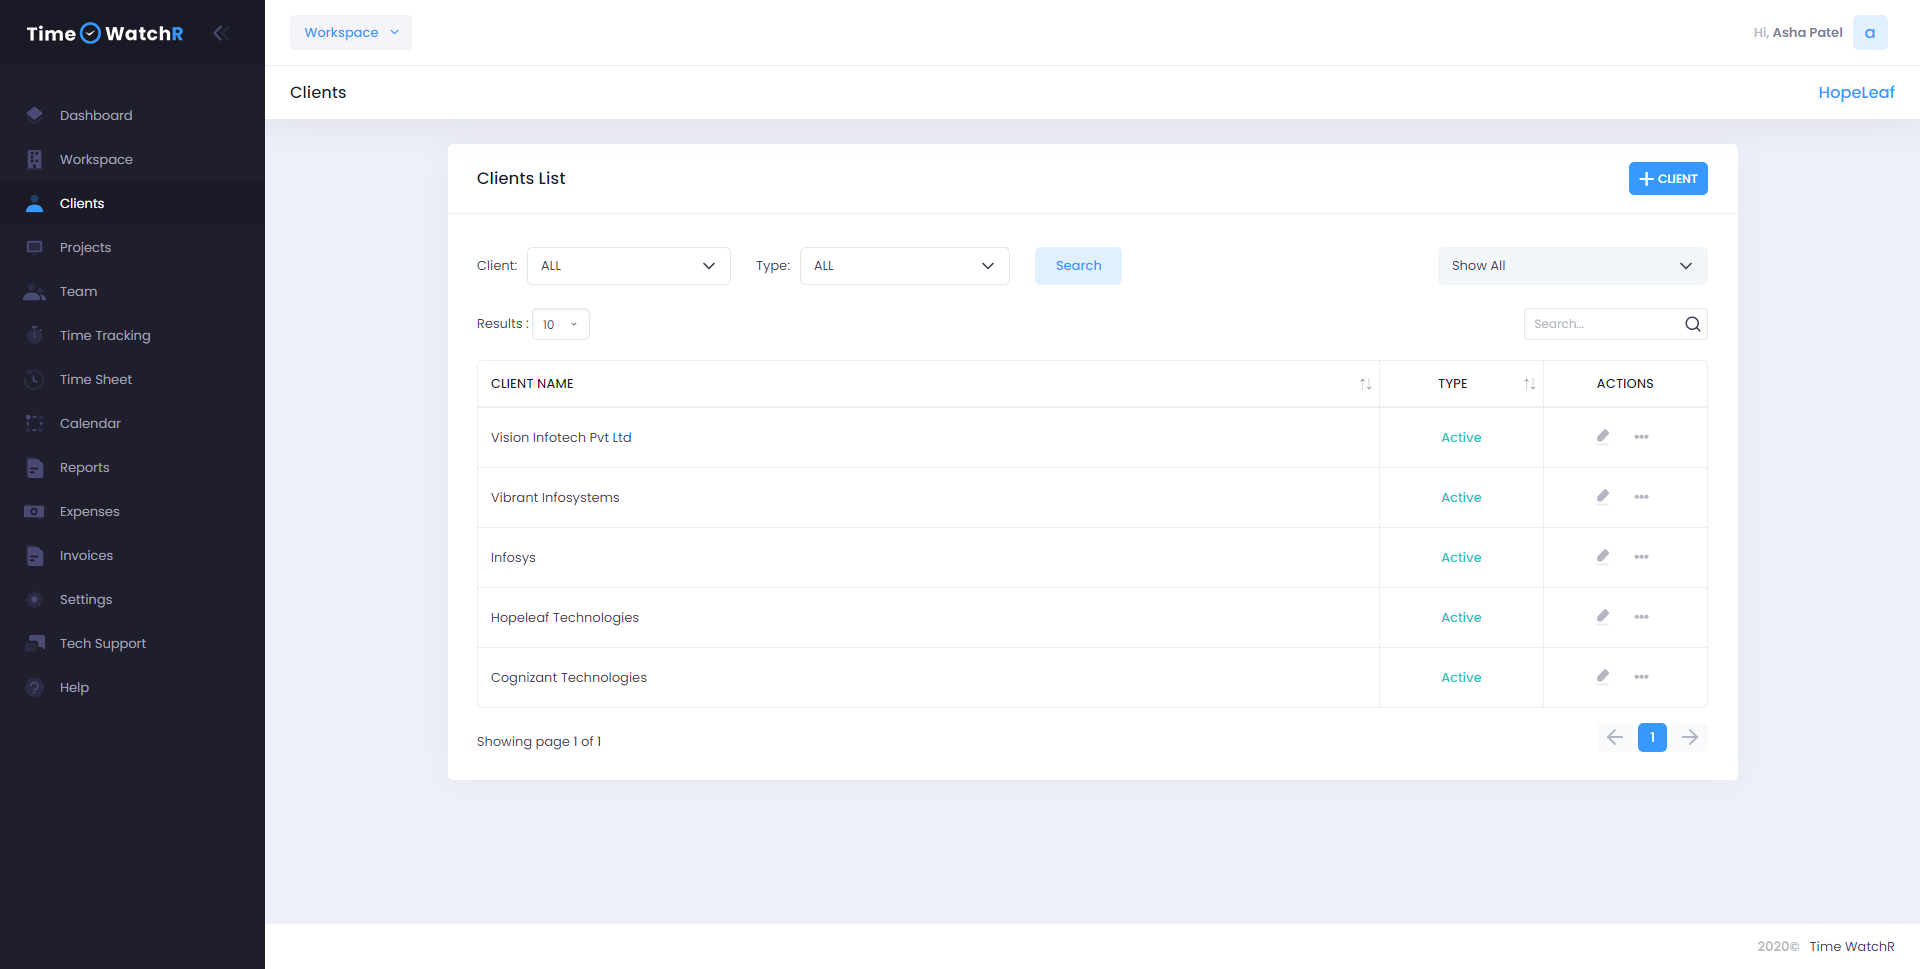
On Clicking the “Clients’ link on the dashboard menu, a page appears on the right-hand side of the dashboard menu as below:
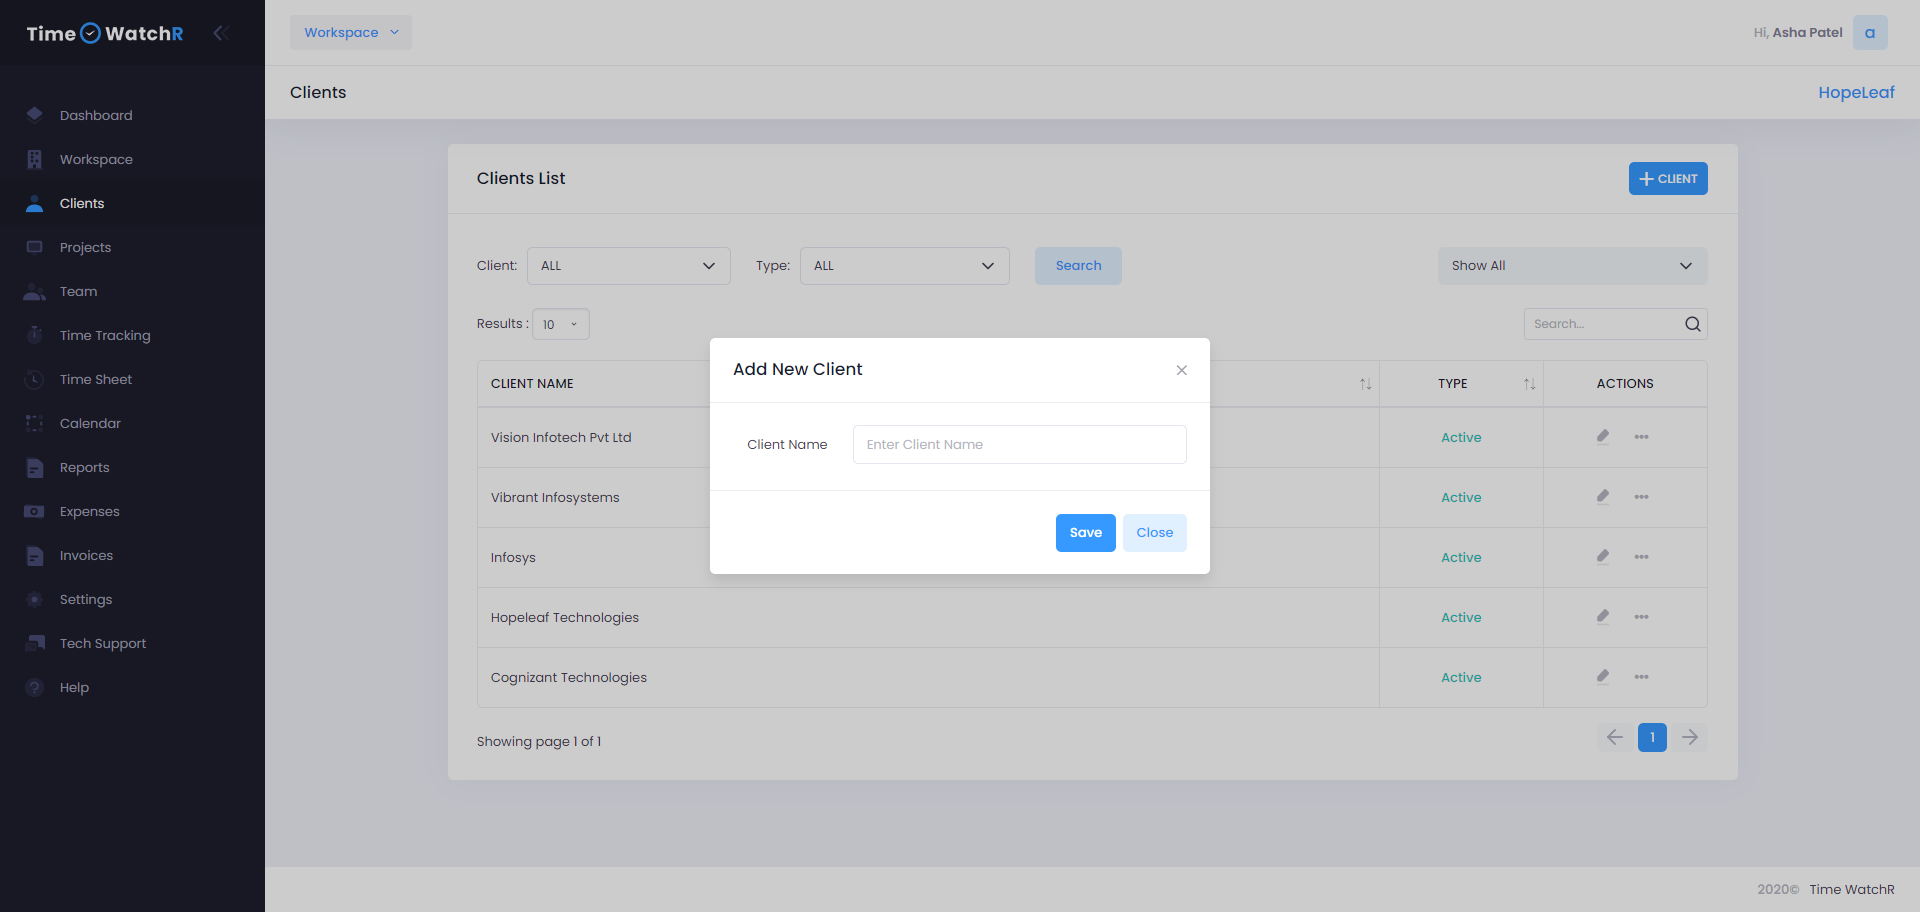
Click the “+CLIENT” button on the top right corner of the page to create a new client. Upon clicking this button, a pop-up form will appear, where user will be asked to enter the name of the client to be created as shown below:
When a new client name is entered and saved, a client name creation success message appears to ensure that the creation of client was successful.
Further, the newly created client name will also be displayed in the list of clients. This also confirms that the client has been created successfully.


